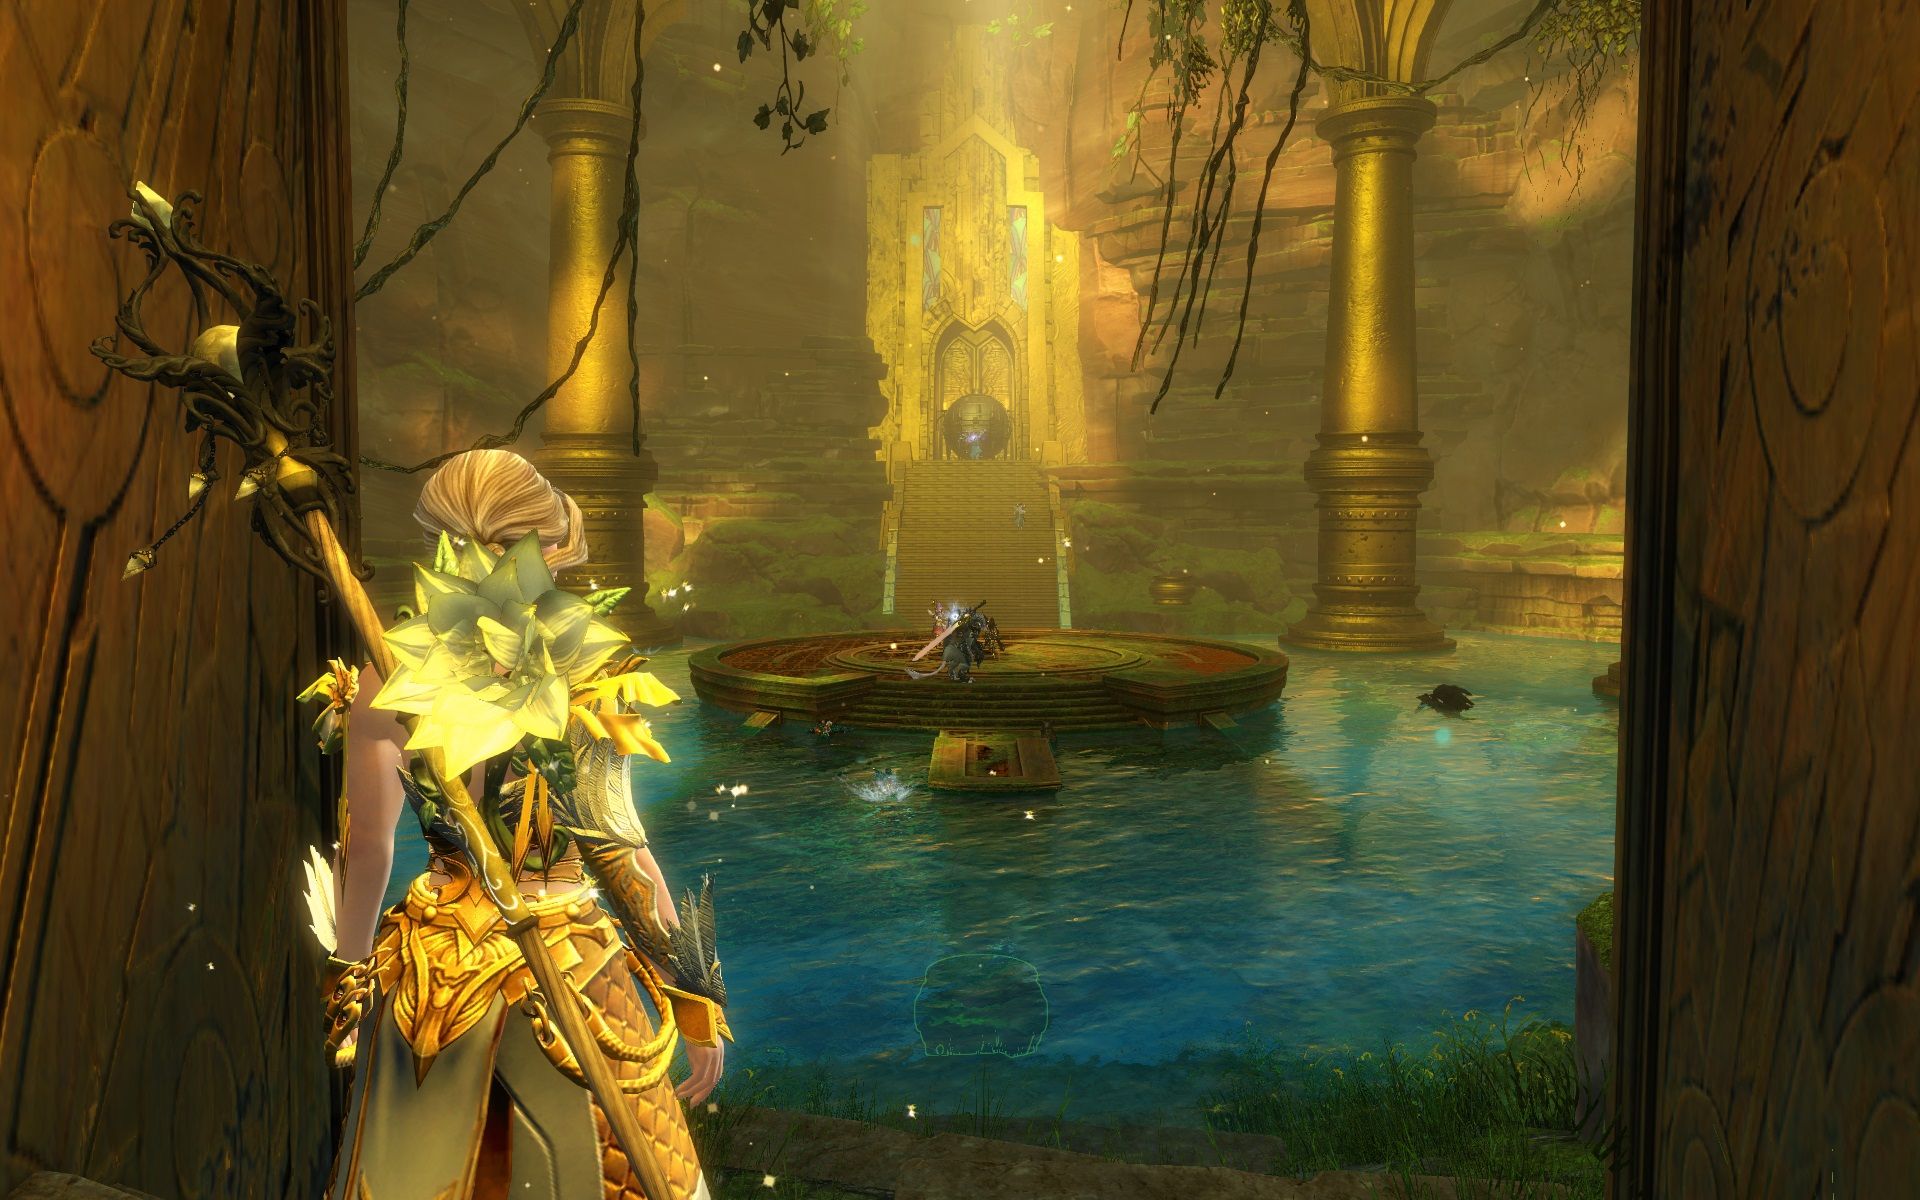
Welcome! This last guide in the series takes us to Auric Basin, a wonderful map full of things to do. If you’d like to see my other newcomer’s companion guides to the other Heart of Thorns zones, I have them for Verdant Brink, Tangled Depths and Dragon’s Stand. Now, let me take you on a journey through the lands of the Exalted into the Golden City of Tarir.
The Exalted and the Golden City of Tarir
The city of Tarir steals the show in Auric Basin, both in terms of visuals as you step in for the first time to the epic music that accompanies the experience. It’s well worth poking around the place to soak up the atmosphere and really get an idea what the place is about. ArenaNet have put a lot of effort into the city’s ambience and you can talk to various adventurers, Exalted and members of the three Orders. You must also look out for an adorable skritt running around the place at breakneck speed, squealing in delight as you make your tour.
Once again the Order your character belongs to makes a difference. If you glide to some of the higher reaches to speak to the Whispers agents, you can get some information off them if your character is also an Order of Whispers agent. This is fairly typical for the Order of Whispers. Back in Core Tyria you can go around the cities, talking to everyone you can find as an Order of Whispers agent and find a surprising number of informants. Even the Durmand Priory has been infiltrated by Order of Whispers agents, so it’s amusing to speak to the same NPC and get three different conversations depending which of the three orders your character is in.
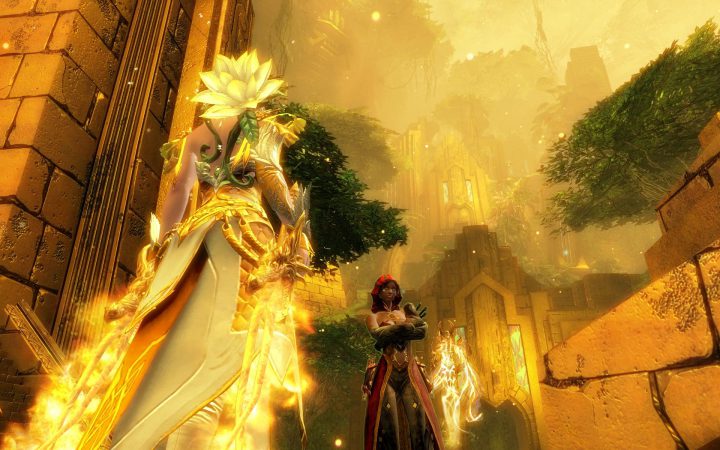
Back in Tarir, the most talkative characters are unsurprisingly the Priory who are having a field day studying the work of the Forgotten and their legacy, namely the Exalted and the City of Tarir itself. A few areas of the city are out-of-bounds until you meet certain conditions, so if you are completely new you can expect to be locked out of the Gilded Hollow (a guild hall area), the treasure rooms (which open briefly when Tarir is saved from the mordrem), the egg chamber (which you get access to after a certain personal story step) and the Fallen Masks adventure (for which you need a little Exalted Lore).
For the most part the city itself is safe until the 2 hour meta cycle rolls around to saving Tarir, at which point the city centre is engulfed in a force field and any players inside are expelled to surrounding waypoints.
The Meta Cycle
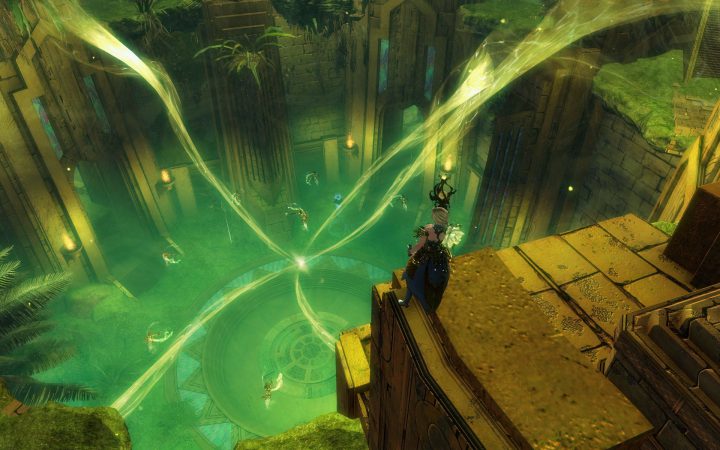
This timer on the Guild Wars 2 Wiki tracks the current stage of the map meta cycle, which like the other Heart of Thorns zones is on a fixed 2 hour cycle. That wiki page also shows a breakdown of all the events you can do during the preparation phase (“Pylons”), which could actually do with a fair bit more explanation. Let’s get to it!
North, South East and West!
Auric Basin can be roughly broken into the city in the middle, and then four distinct regions around watchposts north, south, east and west in which there is a lot of event-driven adventuring to do. The north-west, north-east, south-west and south-east are all buffer zones that have additional challenges to face, or link to the maps Verdant Brink and Tangled Depths, and don’t directly impact the meta cycle.
The meta events that go on in each quadrant tend to tie in with that will happen in that part of the city during the battle for Tarir. In the case of the north, the theme is around a mordrem-killing weed sprayer (perfect for killing evil plant monsters, right?) that you will use again in the battle for Tarir to kill the north octovine (boss). In the west, you help skritt raise friendly mushroom men, and later in the battle for Tarir you will use similar mushroom magic to transform into a tiny mushroom that weakens the western octovine by releasing spore explosions.
Those examples don’t hold up for what happens at the east and south octovines, but it serves to highlight that each direction has a very unique character and chain of quests. Firstly, each direction has a “watchpost” to secure, after which there are a number of secondary pylon quests to gather giant battle suits known as “armors”. The armors are for use in the Battle of Tarir, though it should be said that there are always some basic battle suits available for that fight. The battle suits gathered during the secondary event chains linked to the pylons are superior versions of these, golden in colour and with far more health but similar battle capabilities.

The secondary quests are social, dynamic events that have the potential to be done in parallel by different groups of players. It’s quite common once the watchpost at a particular location has been secured, for three NPCs to ask for the players’ help simultaneously. It’s up to the players if they want to do the pylon quests in sequence, all at once, or whatever they prefer. If you’re stuck for something to do in Auric Basin, it’s always a good idea to find one of these chains and join in. If you need a few more players to help out, call in map chat and a few are bound to come over to help.
The stories at the event chains are typically excellent and again, fully voice acted and easy to follow. The objectives are also clear and flow naturally until the end, so it’s just a case of turning up and joining in. At the end of each chain there tends to be a boss fight and bags of loot, including extra keys for the treasure rooms of Tarir. While locked treasure chests do appear out in the wilderness, I’d advise saving your keys for the superior treasures of Tarir itself.
If you stick around long enough to complete local events and then attend the battle of Tarir, you’ll find you get a completely different experience at each of the four sides. Once you’ve exhausted the events of one side, say Westwatch Patch, go and try the events at Southwatch Creep, Eastwatch Bluff or Northwatch Decent. You might also find that different classes do better in different places, or at least that you have to adopt different strategies. Overall there’s a great deal of diversity much as there is in Verdant Brink, with many social events and bosses to fight.
The Forgotten Corners of Auric Basin
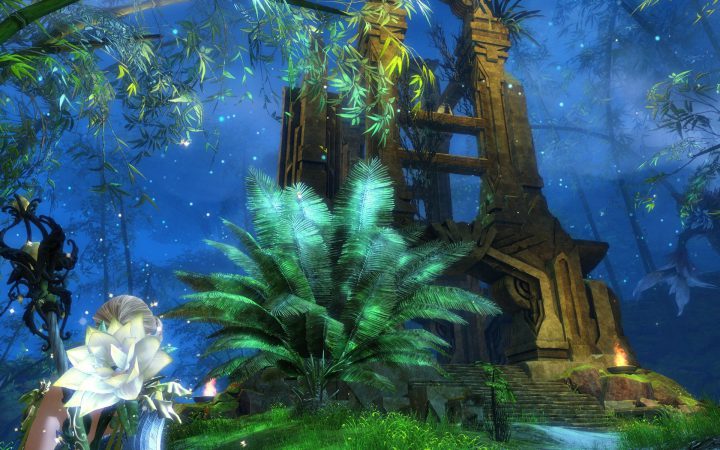
You’re bound to discover that the dynamic events that go on around Auric Basin don’t go into certain areas, usually the diagonals as you look at them on the map. There’s the north-west, where you arrive from Verdant Brink, which is actually very high up. Far below this area is inhabited by violent mushrooms, including the Tyrant King. There’s an achievement for finding him, but you’ll need to master Nuhoch Stealth Detection (Nuhoch #4) to do so, much like you do to find Treasure Mushrooms. Also down here is an adventure called “The Floor is Lava?” if you like that sort of thing.
The other useful place to mention in the north-west by the entry waypoint is the teleporter hub that will take you to any of Tarir’s four plazas, the fastest way into the city. To get to the teleporter hub you need to go south a little from Wanderer’s Waypoint and look for a bouncing mushroom that takes you to a tree level above. There you’ll find the four teleporters, though you’ll need the Exalted Markings mastery to use them.
There are many secrets up in the trees and among the cliffs throughout Auric Basin, from regular treasure chests, to strongboxes worth Mastery Points, to a number of collection achievements. One such achievement called “Treetop Retriever” (look it up in your achievements tab under Heart of Thorns, Auric Basin in the Hero Panel) is also close to Wanderer’s Waypoint and involves finding the corpses of fallen Priory and recovering an item from each one. The achievements tab is quite useful in providing you with clues to the location of each body, so you might not need a guide to find them.
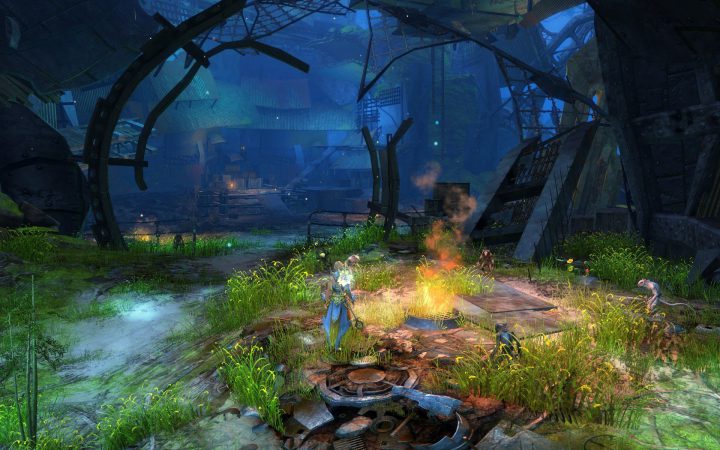
There are much harder scavenger hunts in Auric Basin after that one. “No Mask Left Behind” is one I’d recommend, which chains into a follow-up called “Where Exalted Dare”. Again, click on the achievement in your achievements tab for clues to all the locations. If for some reason you want to cheat like crazy, Dulfy has guides for all the Auric Basin achievements right here. To get the most fun out of the achievements though, only use them if you get completely stuck – think of the poor designers who put all that effort into hiding things!
Moving on from scavenger hunting achievements, we can look north-east to Burnisher Quarry. The most common reason to visit is for mapping purposes, to get the vista and easy Hero Point. The easiest way into the quarry is actually by Nuhoch Wallow. If you look a little north of New Skrittington, the skritt town in the west of the map there’s a wallow that takes you all the way across. You can easily glide down to it from Wanderer’s Waypoint, and likewise you can get the vista at New Skrittington using the same method.
In the south-east there are two notable Hero Points. Unlike the channel-type Hero Point that was in Burnisher Quarry, these are both boss fights. The vinetooth you can beat by running around it in circles while chopping at it pretty much, but the chak is really quite lethal with frequent acid spray, pools of acid and a knockdown charge. Most people will probably want help with the chak, so you can call out in map chat if you want some extra players. Hero Point fights are always worth repeating for Mastery Experience and treasure, which you can get once per day. Players with apple tags (mentors) will often start “Hero Point trains” for just this reason. And to be helpful, of course.
The most notorious Hero Point in Auric Basin is in the south-west, at Balthazar’s Rest. If you have stealth, you might be able to sneak in and channel the Hero Point without being attacked by the Avatar of Balthazar and his hounds, but mostly what happens is a group of players will band together to defeat the avatar first. What will also often happen is the avatar will enrage at 50% health and blow everybody up, so it’s worth learning about the ledges in the battle area that you can reach with the jumping mushrooms. They’re not completely safe, but they’re the most common way of surviving the inferno.
The Really Hard Places To Get To
While some places are just out of the way, there’s more that just don’t want to be found at all… places you’ll find jumping puzzles, hard-to-get Hero Points, and golem battle chess!
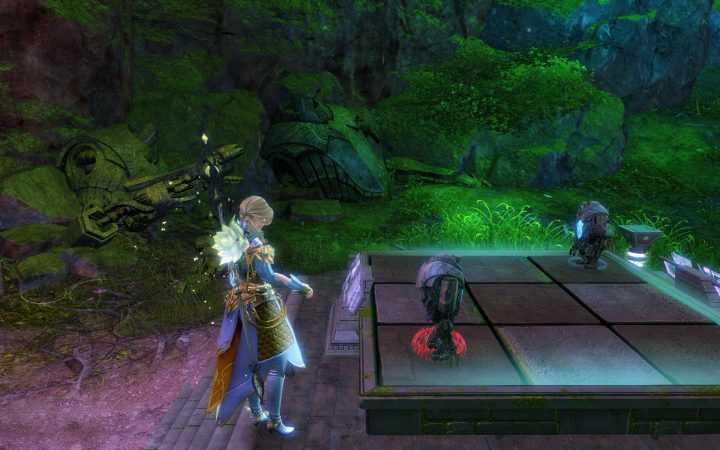
Yes, tucked away in the far western reaches of Auric Basin there’s even a working 3×3 chess board with remote control golems that do battle with each other. This area is west of The Falls on the map, itself a fun place with Itzel chilling out and challenging you to jamming sessions on the lute (talk to Nelisqua for that). There’s a few other surprises if you poke around.
Anyway, to get to the Ancient Golem area west of The Falls usually takes the Ley Line Gliding mastery (Gliding #6), starting at a point in the Quetzl area on the east side of The Falls. If you look to the right of the ley line you’d normally be gliding over on, there are some roots in the cliff face you can get to with Lean Techniques (Gliding #3). Then it’s just a case of scrambling up the roots and avoiding the smokescales.
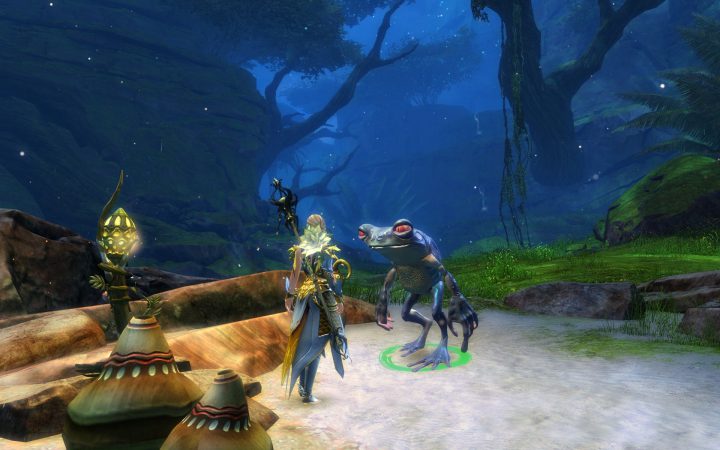
To get up to that Quetzl area in the first place, you can either take the Jumping Mushrooms at the base of their cliff or you can do an exceptionally long glide from Wanderer’s Waypoint. There’s a treasure chest on the Quetzl’s cliffs where this glide would normally touch down, just one example of the many treasure chests squirrelled away in odd places.
One final remark on the Ancient Golem area is that there is a jumping puzzle here, but to do it you will actually need your Ley Line Gliding. This area is really meant for those players who’ve naturally advanced enough to be here after all! If you’re not ready just yet, come back later. There is also a jumping puzzle in Tarir’s Inner Chamber, along with the adventure Sanctum Scramble. You can do the jumping puzzle without doing the adventure at the same time, though they share the same route.
Crazy Lootz for The Battle of Tarir
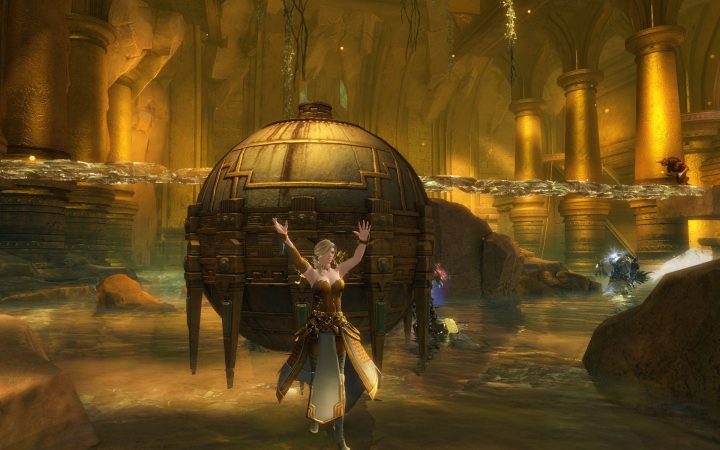
So, Auric Basin currently has the richest pickings of the Heart of Thorns zones thanks to the Battle of Tarir. If you’re familiar with the LFG Tool and the way squads work, you can typically find a multi-map loot squad that completes the Battle of Tarir and then loots the treasure rooms multiple times. Basically, for each instance of the map that the squad is victorious in, there’s a treasure room there waiting to be looted. The squad UI allows players to travel to each instance and share the combined loot across the entire squad, scaling up the rewards for each cumulative victory.
Even if the instance you’re in to start with loses their battle to save Tarir, you might still have the consolation of visiting successful maps that your squad mates are in. You won’t get the event rewards or progress towards The Golden Child (an achievement for 100 Tarir wins), but it’s a decent consolation for the time you spent. Remember, you don’t want to spend half an hour and walk away with nothing.
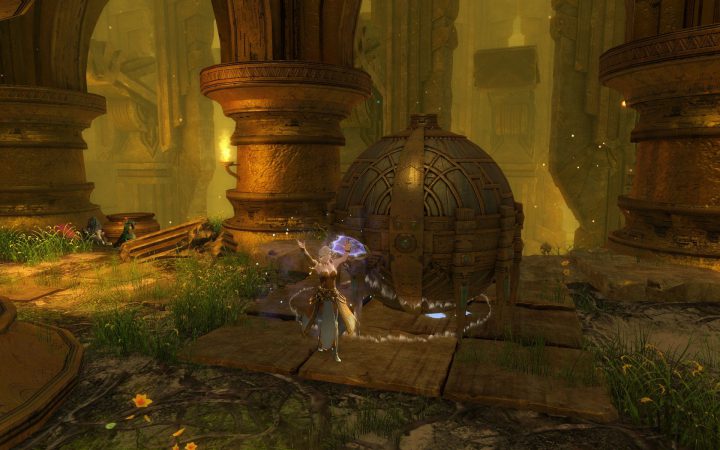
Saving Tarir is on a fixed 2 hour cycle, so if you want to participate you’ll want to schedule a time that works for you. You can check current stage of the timer here on the Guild Wars 2 Wiki. The time that people organise squads and join viable maps is at the start of “Challenges”. You’ll want to use the LFG Tool to find yourself a squad and get into the right map instance at this time. There is an informal etiquette of moving your tile in the squad panel to the correct sub-squad in the event of a multi-map squad. It’s quite easy to get to grips with if you’ve never done it before and it’s easy to ask questions in squad chat (type /d, or pick “/squad” from the Target Channel list at the bottom left of the chat box).
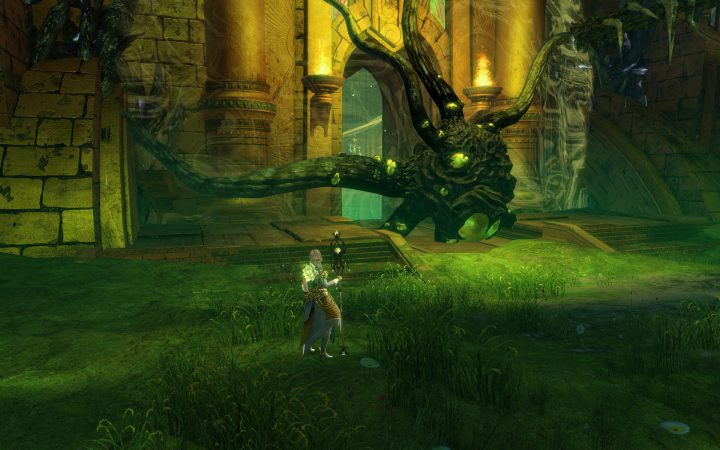
If you’ve never played the Battle of Tarir before, the most important thing to know is that there are four octovine bosses that need to die within 2 minutes of each other. For this reason players will coordinate across map chat to bring the octovines down to ~5-10% health or so and then kill them all at once. Learning the different mechanics of the four fights is something that you can do when you’re there, so don’t worry about giving yourself information overload before you’ve even played. You’ll pick it up. Don’t forget, there’s a period of time before the battle starts during which you can ask questions.
And That Will Wrap Things Up
Auric Basin is much like Verdant Brink in that there are also many resource nodes to harvest, Adventures to play, collections and achievements to do that will keep you busy for a very long time indeed. In particular there are a number of Auric Basin collections that will give you Exalted-themed weapons, backpieces and Herta, a golden head that devourers any excess bloodstone dust you may happen to have. Much like Tangled Depths, there are many treasure chests that are hidden away in forgotten corners and there are more scavenger hunts in Auric Basin than any other zone in Heart of Thorns.
All I can do in this companion guide is to offer an introduction, and set you on your way. Good luck out there!
Should there be any details you’d like me to add, comments, suggestions or whatever then please leave them in the comment section below. Also if you liked this guide, please share it and follow me using the social buttons for more. There’s also lots more Guild Wars 2 articles here and more around the site. Thanks for reading and happy adventuring.
Finally if you happen to be feeling generous, please consider a donation for my guides, thanks!
~Cirian.

