Welcome back, or “hello!” if you’re here for the first time. So, carrying on from my Guide to Verdant Brink we skip ahead to Dragon’s Stand. After the first zone people are often interested in the last, and it has a unique format unlike the others. Once I’m done with this companion guide I shall be covering Auric Basin and Tangled Depths as well, both of which have compelling experiences – but wait – no spoilers!
The following then is a companion guide to use alongside a traditional technical guide, like this one on the official Guild Wars 2 Wiki. Here in a more conversational tone I’ll be covering how to get the most out of your time and what planning you’ll need to do to participate. Since Dragon’s Stand isn’t especially “casual friendly” by design, I want to do my best to facilitate casual players in particular.
Reality Check
Dragon’s Stand is on a 2 hour cycle like the other Heart of Thorns zones, but what makes Dragon’s Stand difficult for casual players to participate in is that this zone is very hard to hot-join. If the 2 hour cycle is part way in you might be out of luck, though luck is possible. For this reason if you want to play Dragon’s Stand, be aware that you will need to set aside a few hours and you will need to turn up in advance to get into a live map. My experience is that Dragon’s Stand instances are either packed full or dead, for reasons that will become clear.
Since I like to aim my guides at the more casual audience I will straight up advise waiting for the weekend or a day off, unless you can line up an evening slot or something. If you’re feeling lucky, the LFG tool might be kind if you just turn up. The zone timers are fixed, so sessions are possible to schedule with the rest of your life if that works for you. As a rule of thumb you want to be in the zone 15-20 minutes ahead of the start to get into a live map, before it fills up and locks you out. Since I mentioned luck a few times already, I’ll repeat that part about just zoning in and looking at the LFG tool on the off-chance there’s a partial map looking for more players.
The Looking For Group Tool Is King
When you zone into Dragon’s Stand you’ll probably be in a fairly empty instance. Sometimes you get lucky and find an active map right away, but let’s assume that didn’t happen.
The main way to find an active map is by using the Contacts and LFG panel (“Y” by default, or look at the top left of the screen for “Contacts and LFG).
- Next pick the Looking for Group tab (second one down), then from the top of the list that appears choose Open World and at the bottom of that list, Dragon’s Stand. Here you’ll find active squads looking for members.
- Assuming there’s a squad advertised that you like the look of, join a squad. Then in the party interface over on the left of the screen, you should see the members of your squad represented by some empty squares with names in. Look for squad mates with “commander” or “lieutenant” symbols (diamonds and chevrons) in particular.
- Right-click one of your squad mates and choose “Join in Dragon’s Stand” to travel to the same map instance as that member.
- Providing the squad member you chose is actually in the correct map instance, you should appear in the active map. If not, try another squad member until you get it right.
- If you get an error message about the instance being full, you can leave that squad and try another. There might be more than one instance of the map running and one of them might have a space for you.
- The LFG tool will refresh the list of squads by itself so you can wait for more to appear if you need to.
Joining an active map is easiest at the end of a cycle when new squads are forming and assembling on a map somewhere. However, you can always just zone in and try the LFG tool part way through a cycle if you don’t mind missing the start. If you’ve never played Dragon’s Stand before, or never played it from the start I’d definitely advise playing from the beginning of a cycle to properly experience the story of the zone. Everything will make a bit more sense and have a proper sense of progression as you join the Pact army on their push and final confrontation with the elder dragon Mordremoth.
So, You Got In. Panic?
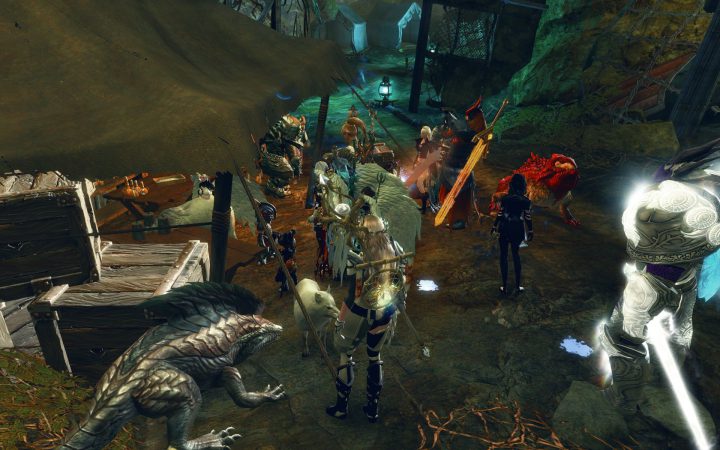
When you first turn up to an active Dragon’s Stand campaign you’ll probably see 3 commander tags, a vast sea of players milling around and random banter going on in assorted chat colours. By this point in the game most people know what they’re doing, at least in a general sense, and the next hour to an hour and a half or so isn’t going anywhere in a hurry. Relax.
Since the 2016 Spring Update, many quality of life improvements have happened to Dragon’s Stand. There’s quite a lot to do in this zone besides following your squad to victory, so let’s take a look at what you can get up to at the beginning.
Whispers Keeper (Zone Merchant)
This merchant was previously only available at the end of a successful map cycle, making him extremely tedious to visit. Another one has since been added to the Pact Base right at the start of Dragon’s Stand. He will sell you zone-themed items similar to those in other maps: machetes (“keys”) for opening Noxious Pods (“treasure chests”), crafter recipes and such, Plated Weapons and boxes of Leystone Armor.
Since there will be a lot of Noxious Pods on the way, you could consider buying some extra machetes at the start if you have the currency. Doing events along the way and the final victory chest will give you a fair few machetes to open pods with though, so this is completely optional.
Plated Weapons and Leystone Armor both have collections associated with them, and additionally buying a plated weapon will unlock an additional collection for the corresponding Machined Weapon. There’s also a collection for collecting every one of those together with an achievement title, “Ex Machina”.
Achievement Hunting
You’ll notice if you look at the map that Dragon’s Stand has a “flow” from the north-east to the south-west. This flow is split into 3 lanes that players will refer to as north , mid and south, and each one will have a Pact force that will travel along it, do events, and fight a powerful boss at a Blighting Tower (enemy base). It’s worth knowing that each lane is themed on the previous 3 Heart of Thorns zones and that the treasure you find in Noxious Pods (treasure chests) will change to suit that lane.
The lanes and themes go as following:
- North Lane: Auric Basin
- Mid Lane: Verdant Brink
- South Lane: Tangled Depths
Each lane has its own set of achievements to do, so you’ll have to play the zone through at least 3 times to get them all. Generally the achievements are tied to successfully completing events and side events. Check your achievement tab in the Hero Panel to see what there is under Heart of Thorns → Dragon’s Stand. Achievements for collections are all under the Collections category, under Basic Collections and Rare Collections, so be aware that they’re spread out a bit.
Getting the zone achievements done is the easiest thing to aim for first, as it lets you get to know the map and build up some currency for the harder stuff, which is in the collections. Just play and loot and do what you can, and know that there really isn’t a lot of pressure beyond getting yourself in the right lane and participating.
One tip I will give for the fight at each Blighting Tower is to have a set of heavy gear to help you survive. There’s a lot of damage flying about and you won’t avoid all of it.
Victory! Now What?
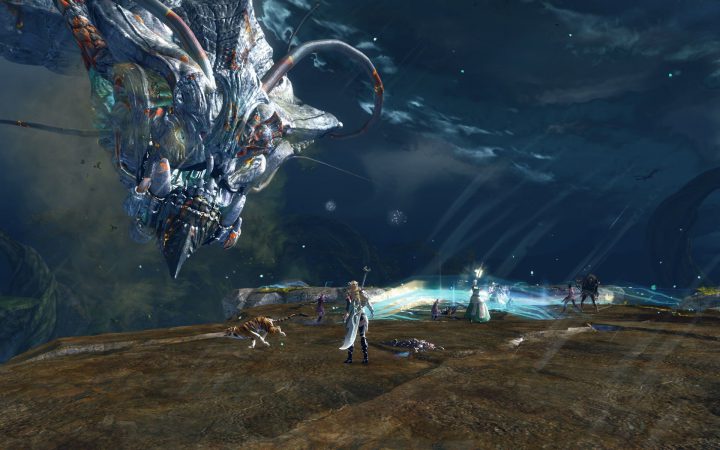
After you win the map changes a bit. First of all you can’t log out and get back into the map. So don’t even think about changing characters for any reason, like getting the ranger pets or because you left your machetes on another character. If you do want to collect the ranger pets on your ranger you’ll need to play the zone on that character from the start to ensure your spot in the map. Next, you typically get 25 minutes to explore the map, loot, and do special events.
Collect Your Loot From The Boss Chest
If you have autoloot it’s easy to forget that the boss chest here isn’t autolooted, so the first thing to do is fly over to it and get your stuff. There is also a zone vendor by the boss chest if you need him. Once per day, you’ll get a special hero chest from the boss chest containing a lot of currency and machetes, and you’ll need to open that up and choose your reward. I’d typically recommend you choose the package full of machetes and currency.
Look At The Big Red Arrows
The mini-map will have had some big red arrows added to it pointing out bonus areas that have suddenly become populated with loot and monsters. There’s usually a Hero Point to channel in each area, so if you’ve not been able to sneak there in a dead map now is a good time to go. Well, providing you don’t get eaten or otherwise killed. If you just want to loot Noxious Pods I’d recommend you find the areas populated by tigers and spiders, since the areas populated by saurians and mushrooms are quite lethal even on a good day.
The most important thing to remember about the Hero Points is that they are channel types and you do not need to kill the bosses guarding them.
Rich Orichalcum
The rich orichalcum vein spawns along with a Legendary Wyvern in the tiger area, which is to the south-west of Northern Advance Camp Waypoint and pointed to by the big red arrows. Stealth can help, but sometimes the wyvern has his back turned and you can sneak in… so sneaky. If the wyvern is attacking then it’s generally best to forget the whole thing and loot Noxious Pods, of which there are lots and lots in this area. The tigers and beetles are not that dangerous, especially compared to a horror like the Mushroom Emperor. Just say “no” to fighting that when you could be busy looting and fighting Treasure Mushrooms instead.
Treasure Mushrooms
People usually call out in map chat when they find a Treasure Mushroom to kill. You’ll need the Nuhoch Stealth Detection mastery to participate and it drops a little cache of loot for you.
Tiger and Electric Wyvern Pets for Rangers
The tiger is a special favourite of mine and you can find it in the tiger area mentioned earlier, or by following the guide on the wiki here. The electric wyvern has been moved from its original spot and you can also find it by following the guide on the wiki here.
Things You Can Do In A Dead Map
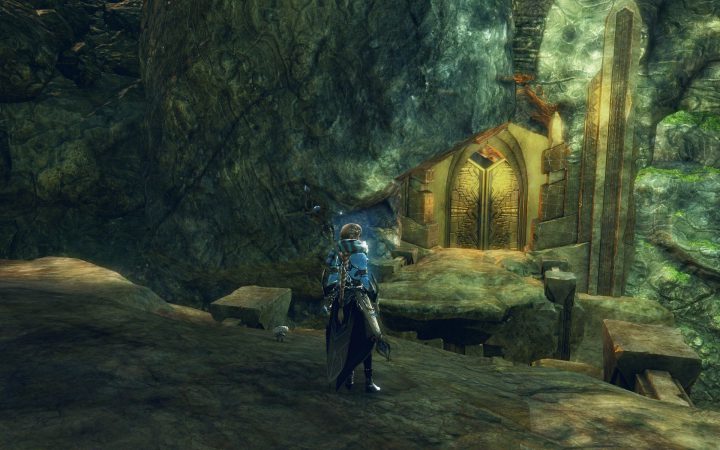
You don’t always need to be in an active map to get things done. There’s a few ambient Noxious Pods scattered about the map, but nothing like the density you get in an active map that completes events. There are regular mordrem patrols that are best avoided, as well as local populations of saurians, mushrooms, coztic itzel (the ones that were shooting you in the face in Verdant Brink), chak (just no…) and some other, less harmful critters as well. The main things you can get done are all related to exploration achievements and gathering.
Strongboxes
Each one you find will give you a mastery point and some treasure, and their locations vary from a remote spot populated by some harmless boar, to a tent in a coztic itzlel village (extremely dangerous). A technical guide or Google will give you the exact locations if you want spoilers.
Noxious Pods
There are a few pods in each lane, most easily found by looking for a silvery “glow” that you can see through terrain. It’s better to play an active map though.
Gathering
I’d rate the gathering potential of Dragon’s Stand to be quite poor compared to the earlier maps, but it can be combined with exploration achievements or hunting for strongboxes. In particular, look out for mussels and jungle plants. These can give you:
- Freshwater Pearls (worth 5-6g at time of writing)
- Maguuma Lilies (worth ~9g at time of writing)
Both of these items are quite rare so it might be worth running a gathering booster of some sort to increase your chances.
Mapping, Exploring and Screenshotting
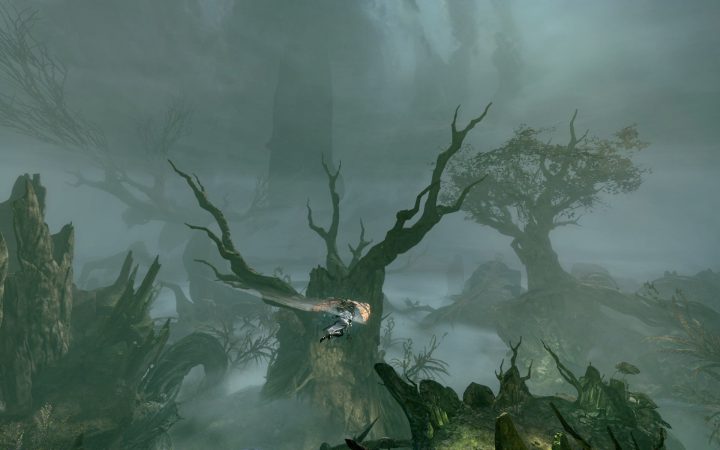
Dragon’s Stand has some visually striking sights and so it’s quite rewarding to be a virtual tourist sometimes. There’s a few achievements that are related to this, such as “Sum Viewer”, which you can do a bit north of Southern Forward Camp Waypoint by standing on top of the Rata Novan Remnants.
Exploring is something you probably won’t be thinking about too much in an active map either, so you can use a dead map to learn your way around.
That’s All For Now
Dragon’s Stand is an interesting map from a story point of view and I certainly preferred it over the Personal Story. The final battle is really epic and really, the whole zone could be called “the final battle” as you go from one end to the other to final victory. Because of the format, it is harder to attend than the other zones and in that sense it’s like going to the cinema where you have to show up at a certain time with all the other people. So, while it’s not so casual friendly I hope my LFG tips in particular will help you get into active Dragon’s Stand maps and enjoy yourself.
As always if there’s any comments you have, please leave them below. I do read all of them. If you like my companion guides you can share them using the social buttons, and you can also follow my updates with the other social buttons.
If you’d like to support my guides, please consider a donation.
Thanks for reading and I’ll see you next time!
~Cirian.

