
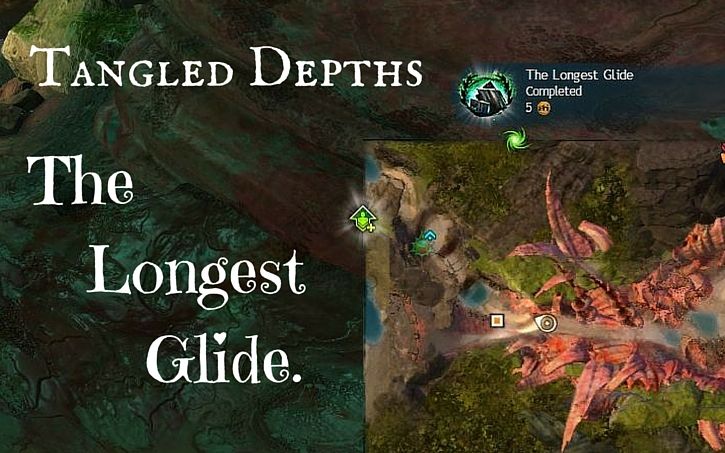
Following on from my piece on Masteries in Guild Wars 2: Heart of Thorns, I wanted to cover an achievement in Tangled Depths that makes use of the full Gliding mastery track.
An Outline of the Achievement
To get this done you’ll be gliding from the east side of the map to the west side, making use of Ley Line Gliding at the Ley Line Confluence Hub for the second half of the glide. You must have the full Gliding track unlocked to succeed.
A few other rules:
- You may free fall without negating the achievement.
- Don’t crash into anything that causes you to “land” prematurely.
Where to Start
It took me a few goes to track down the starting point for this achievement, which turns out to be the vista point in the SCAR Bivouac.
There may or may not be monsters in the way depending on the outpost’s progress. Here’s the vista location: all screenshots can be clicked for larger versions.

Jump off the cliff here and start gliding north-west and then west toward the Eastern Confluence Tunnel. The black tunnel marker on the mini-map is a good reference point.
Eastern Confluence Tunnel

Once you get to the black tunnel marker you’ll see the tunnel below you through a tangle of roots. You can free fall a bit and then carefully glide your way into the tunnel.

Once through the mess of roots, glide along the ceiling until you enter the Ley Line Confluence.
You should aim for a pair of ley lines in the south of the chamber. Ley line energy will be rising from the pillar structures and this is what we’ll be riding on to get some more height.
Ley Line Confluence

The Ley Line Confluence is full of ley lines that will raise you higher into the air. There is even a glowing ball of light quite high up that will award you with a mastery point for flying through it! (This is the Pulse Room Glider achievement, which you could get at the same time if you wanted to.)
Anyway, our objective here is to catch the ley line running west along Ogre Lane.

Navigating the Ogre Lane
Once you have enough altitude from gliding the ley lines in the confluence, head west and catch the ley line running along Ogre Lane (shown above). The ride is quite fast and you might need to steer a bit to keep yourself on the ley line.

At the end of this ride is a wall with a small-looking opening to the right of where you come off the ley line. You’re looking for a patch of green between two big pipes, right in the middle of the wall.

Navigating the hole in the wall leads you into a tight vertical section. Below you will be a ley line coming out of a pipe on the right, which you’ll have to catch to complete the last ley line section.

The last ley line section is extremely bumpy! There are 3 ley lines that will throw you around as you bounce from one to the next. The 3rd ley line in particular, you want to let throw you high up into the air at the end of its snatch.
Once you have been snatched up in the air by the 3rd ley line, you’ll make the final dash to Dragon’s Passage. There is a 4th ley line ahead that you’ll miss by gliding under it so don’t worry about that one.
Dragon’s Passage.

Leaving Ogre Lane behind, you’ll end up gliding into the entrance to Dragon’s Passage and get your achievement.
Congratulations!
It’s safe to say that once you’ve done this you can consider yourself a gliding master. However, there is plenty more gliding to do in Tangled Depths for Strongboxes and other secrets.
Thanks for reading this guide and I hope it helped you. Should you have anything to say then leave your comment in the section below, and if you’re feeling super-generous then please consider a donation. Great! Until next time then.
~Cirian.